Friday, January 27, 2012

Finished Friday: Shirt Scarf DIY

I have so many "crafty" pins on Pinterest! I was recently inspired to join in with "Finished Friday" over at A Heart For Home to start completing some projects.


I got my "Pinspiration" from this post on Pinterest and the full instructions are on the blog, Hello Giggles and their post, DIY T-Shirt Scarf.

 
 What you'll need: A t-shirt and a pair of scissors

I started with a t-shirt that had a hole in it. Cut your shirt horizontally, under the armpits.

There's a hole in my shirt dear Liza, dear Liza...


What did I do with the top part? Put it on little man of course! Haha! He wasn't quite as amused. 


Cut the hem off the bottom of the shirt. (I saved that part to use later)

Cut strips on the looped ends that are about 1" thick. Once their all cut, pull on the loops and stretch them out. they will kind of curl up and look "stringier" once their stretched.


Gather up the necklace at the uncut part and that is where you can tie a string of some sort to cover it. I used the leftover piece of hem fabric.


Ta-daaaa!

This was a fun (and quick) craft! My necklace is shorter than the ones from the original tutorials, but they used larger shirts and I used a small tee. This is one of my favorite types of crafts too... no sewing involved ;) and it's such an individual craft with no "right" way that it should look - everyone's is unique and one of a kind!

Wednesday, January 25, 2012

{Almost} Wordless Wednesday: Pine Cone Chucking!


Pine Cone Chucking!

Little man and I were at a park where he found a pine cone and started tossing it and giggling. In a very excited voice I started saying "Pine Cone Chucking!" every time he tossed it. This just made him laugh even more! He was laughing so hard he even started snorting! We must have been quite a sight as we were running all over the park - little man throwing a pine cone and me, shouting "Pine Cone Chucking!" Haha! 

Happy Wednesday!


Monday, January 23, 2012

The Little Hedgehog Cooks: Roasted Carrots


This week in my CSA box, I got:
Arugula
Beet Greens
Broccoli Raab
Carrot
Collard Greens
Kale
Lemons
Oranges
Radishes
Salad Mix (2 bags) 
Swiss Chard

Little man helping me unpack the veggies and fruits


The carrots were just beautiful and I wanted to find a recipe that would bring out their flavor. I found a recipe for roasted carrots - easy, quick and simple!


Roasted Carrots
{recipe adapted from: Epicurious}

Ingredients:
  • Bunch of carrots
  • Olive oil
  • Salt and Pepper

Directions:
Preheat oven to 500°F with rack in lower third. Wash carrots, trim tops to 1 inch and peel carrots. 


Toss carrots with olive oil, salt and pepper to taste. (I just eye-balled it) Spread the carrots out on a large 4-sided pan. 


Roast for 20 minutes at 500°F. Reduce oven to 325°F and continue to roast, stirring occasionally, until carrots are browned and tender, about 25 minutes more.


*recipe note: my carrots were smaller than your average carrot and they were crispy after 20 minutes at 500°F. If you have smaller carrots, I might recommend roasting for 10-15 min at 500°F and then reducing the oven temperature to finish roasting.*

The carrots turned out great! They were sweet and tender and the "burnt crispy-ness" actually added a good roasted flavor. Little man loved it so much that he gobbled up his and stole some of mine! 


Enjoy!


Monday, January 16, 2012

The Little Hedgehog Cooks: Beet Greens


One of the items in my CSA box from last week was beet greens. 


Now, I have never cooked with them before and honestly, until recently, I didn't know that they were actually edible! Since I didn't know what to do with them, I went hunting for some recipe inspiration on the internet. I can across a recipe that included bacon as one of the ingredients, and since I happened to have some on hand, I thought I would try it out! Besides, you can't go wrong with bacon! 


Beet Greens
{recipe credit: Simply Recipes}

Ingredients:
  • 1 pound beet greens (I just used my bunch of greens, which was less than a pound)   
  • 1 strip of thick cut bacon, chopped (I used some from Trader Joe's)    
  • 1/4 cup chopped onion    
  • 1 large garlic clove, minced    
  • 3/4 cup of water    
  • 1 Tbsp granulated sugar    
  • 1/4 teaspoon crushed red pepper flakes (I didn't add any red pepper)
  • 1/6 cup of cider vinegar
*recipe note: You can also cook the stems, if they aren't too woody. Just cut them into 1-inch segments and add them to the onions after the onions have been cooking for a minute.*

Directions:
Wash the greens in a sink filled with cold water. Drain greens and wash a second time. Drain greens and cut away any heavy stems. Cut leaves into bite-sized pieces. Set aside.

In a large skillet or 3-qt saucepan, cook bacon until lightly browned on medium heat (or heat 1 Tbsp of bacon fat). Add onions, cook over medium heat 5 to 7 minutes, stirring occasionally, until onions soften and start to brown. Stir in garlic. Add water to the hot pan, stirring to loosen any particles from bottom of pan. Stir in sugar and red pepper. Bring mixture to a boil.

Add the beet greens, gently toss in the onion mixture so the greens are well coated. Reduce heat to low, cover and simmer for 5-15 minutes until the greens are tender. Stir in vinegar. 

All done!

I thought that the sugar really brought our the sweetness in the dish and the bacon was great for flavoring! The beet greens had a really good flavor (it was similar to swiss chard). Beet greens are packed with good-for-you nutrients too! Tasty and good for you - definitely a plus! This makes a great side dish and they are in season  too - I'm sure you can find some at your local farmer's market or grocery store (try Sprouts, Whole Foods, Henry's, etc.)

Enjoy!


All Done Cheesing

Little man got a haircut today! I think this is his third haircut so far... Gramma and Grampa were here for a visit, so I asked my mom to give little man a trim.

Little man went from this...
So cute and fluffy!

to this!


When he was all dusted off from the haircut, my dad started taking pictures and I was trying to get little man to flash a smile. I was being silly and saying "cheeeese!" to get little man to smile. Then, just as my dad was done taking pictures, little man exclaimed, "All done cheesing!" 

Haha...guess he was done being the center of attention. Or maybe, he was all done with mommy saying "cheeeese!" ;) Little man made us all laugh! He makes my heart so happy!


I've Been Featured Over at I'd Rather Be Changing Diapers!


Today I'm being featured over at I'd Rather Be Changing Diapers as a part of Heather's Meet a Blogger Monday! You can hop on over HERE to read a little bit more about me and The Little Hedgehog blog!


Tuesday, January 10, 2012

The Little Hedgehog Cooks: Dandelion Greens Salad


I've been inspired by my cousin's blog, Cookin' With Whatcha Got, to start sharing some recipes with some of the ingredients I get from my CSA box. (You can read about my first CSA box HERE) I was hoping to post every Saturday or maybe on Mondays...but since I'm just getting this weekly post idea started, I'm off by a few days. :) 


One of the tasty veggies in my CSA box was dandelion greens. Now, many of you might not know that these are actually edible. (I didn't, until a couple months ago when I read the recipe I adapted below) I used to feed dandelions to my pet rabbit as a child, but it turns out that they are actually really good for you and work to cleanse your liver! (Perfect for a New Year's salad!) 

So, without further ado...

Dandelion Greens Salad

Ingredients:
  • 1 bunch dandelion greens - about 1-2 cups (can be found at a natural foods type grocery store like Sprouts, Whole Foods, etc. or perhaps your farmer's market.)
  • 1 cup of arugula or baby mixed greens (I used baby mixed greens)
  • 1 Tbs diced red onion
  • 1 can of sardines packed in olive oil
  • 2 Tbs olive oil
  • 1 Tbs lemon juice
  • Salt and Pepper to taste

Directions:
Wash produce. Chop dandelion greens into bite size pieces and add to your salad bowl.


Add the mixed greens (I didn't chop these into smaller pieces, but you can if you like) and the red onion to your salad bowl.


In a small bowl, whisk together your olive oil, lemon juice, salt and pepper. (Taste-test to make sure you like it and add more of any ingredient, if you feel it needs a "little something extra")


there's nothing like freshly juiced lemons!
the salad dressing all ready to go!

Drizzle the salad dressing over your salad, toss all of the ingredients and serve into bowls. Then (if your taste buds are up to it) add a sardine to top each salad. Voila! Ready to eat!
* I drizzled the dressing over individual bowls, but you can just pour it in the big salad bowl.*


*I personally love sardines and think that the oil and fish offer a really nice balance to the peppery/bitter taste of the dandelion green. Mixed with the lemon juice, it makes for a very refreshing winter salad! Plus, it's a great way to add an Omega-3 boost to your meal! If sardines aren't your thing though, no worries - tuna or grilled chicken would also be tasty, or you could leave the meat out for a vegetarian dish.*

Enjoy!


Sunday, January 8, 2012

I Joined Google+!

I just joined Google+! I would love it if you followed The Little Hedgehog on Google+! I would be more than happy to follow you back - just leave me a note in a comment below!

Since I am pretty new to the world of Google+, I would really appreciate any tips or tricks that anyone has! I don't really know much about it. :)


Thursday, January 5, 2012

My First CSA Box!


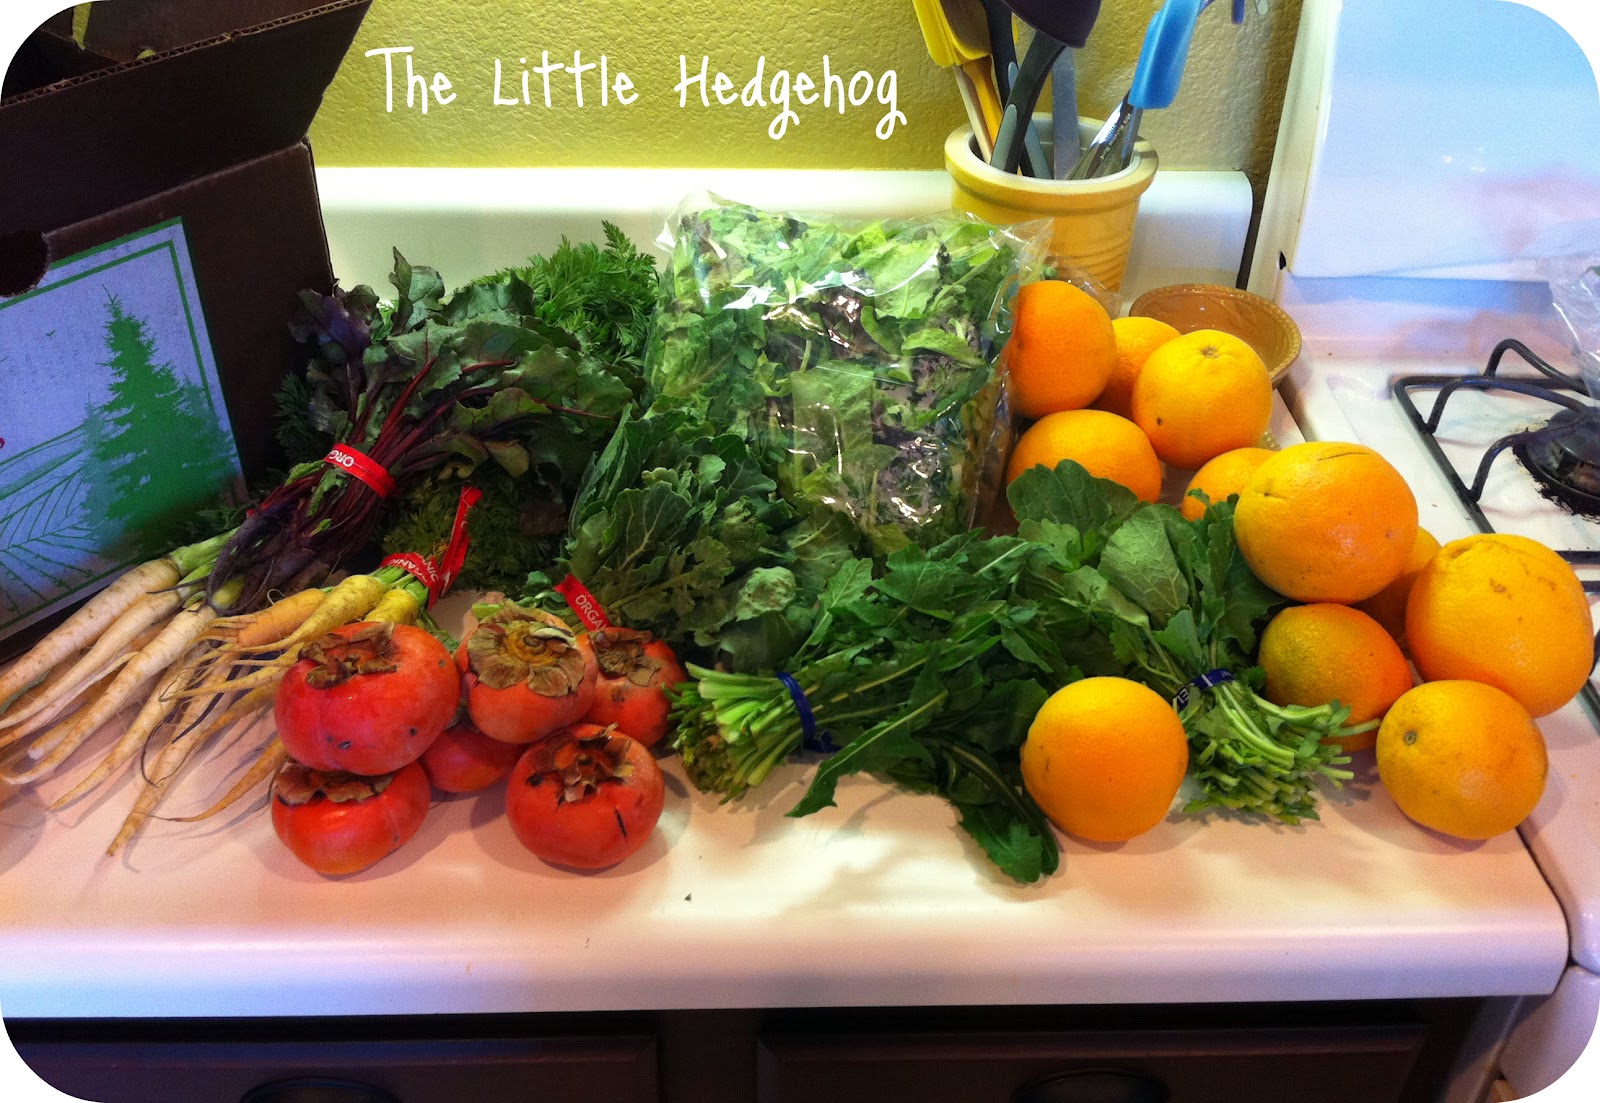
For Christmas, hubby and I decided to join a CSA! (It's kind of like the gift that keeps on giving!)  We signed up to get a box of produce every other week for a year from a local farm that grows organic produce. A CSA {Community Supported Agriculture} is where you pay a fee that helps support a local farm and then you get a share of the harvest. Hubby and I both really like the idea that we are supporting a local farm that grows organic food in a sustainable way. It is also a really affordable way to get a nice variety of seasonal, organic produce and I just love the idea of learning to cook with foods that are in season! 


This weeks box had:
Beet Greens
White Carrots
Collard Greens
Dandelion Greens
Kale
Oranges
Persimmons
Salad Mix


 Yumm-o!

I am so excited to start getting seasonal fruits and veggies every other week! I can't wait to learn some new recipes and try some new foods in the process!

I was thinking about featuring a new, healthy recipe each week that included one or more of the items in my box or something I picked up at our local farmer's market (since I only get a box every other week). Any interest? I would love some ideas on what to call it too ... The Little Hedgehog Cooks or Fun With Food or ...???